What exactly happens to a 3D-printed part along its journey before it reaches the end user and its intended purpose? In this article, we’ll explore the stages of the 3D printing process through real-life examples: sales and production planning, the production itself, and post-processing.
The sales and planning stage ensures the part’s functionality and cost-effectiveness
Collaboration with 3D Formtech’s sales representative is the first and crucial stage in the journey of a 3D-printed part. The sales representative’s role is strongly consultative, which is why we prefer to get involved at an early stage. By utilising the expertise of both the sales representative and the rest of the team, we help every customer find the best possible solution, both commercially and technically.
Example part:
A 3D-printed part for our customer Orion, designed to rotate medicine packages on the production line.
For Orion’s medicine package rotating part, our team went through several development iterations during the sales and design phases, working together with our design partner Etteplan and the client:
- Optimisation of mass density: The original rotating part was a block-like component with a high mass density, which increases the unit cost and creates manufacturing risks. We decided to remove the unnecessary mass from the part.
- Structural strength: The thinner structure raised concerns about the part warping, so we designed support ribs into it.
- Removal of unnecessary surfaces: Our team proposed removing all unnecessary surfaces from the part. We didn’t have time to produce this version, but a finished concept was created for the client to use in the production of future medicine package rotating parts.
These changes will enable future medicine package rotating parts to achieve significant material savings and reduce production costs by up to 50%, which is a major benefit for the client.
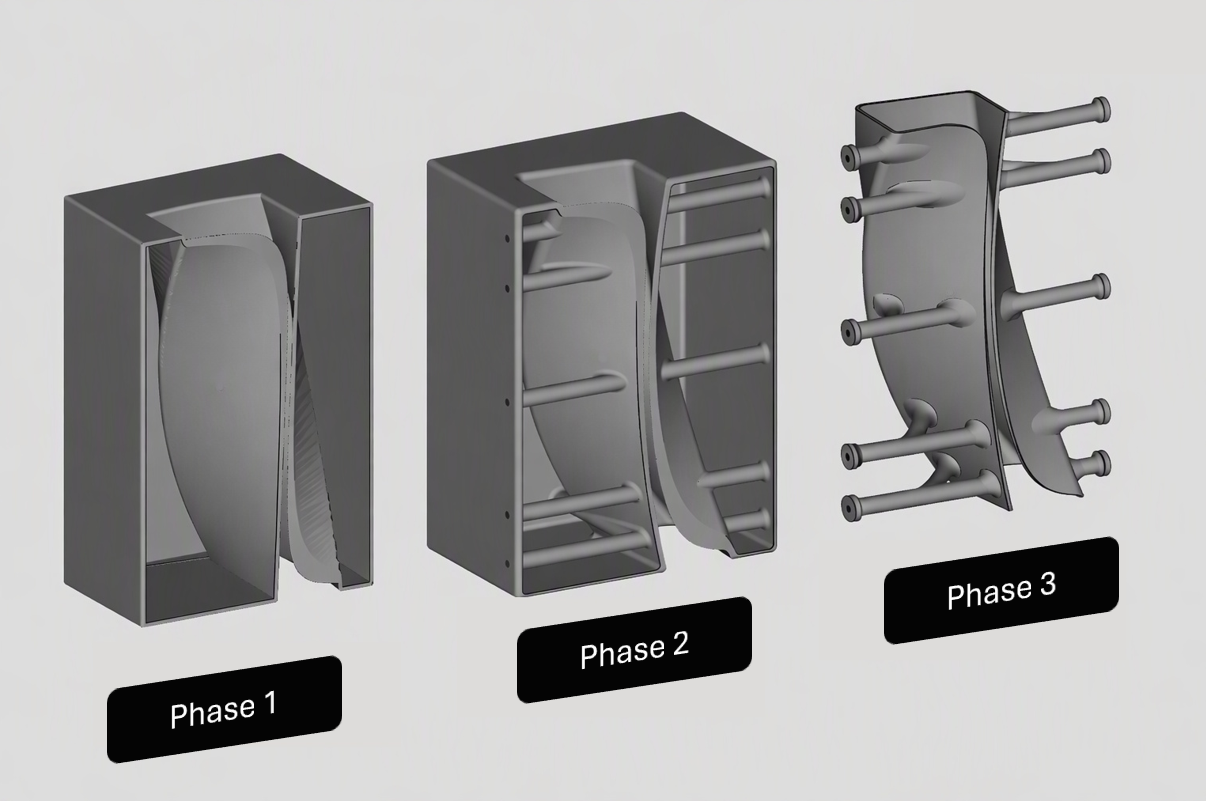
During the sales and planning phase, communication between sales and production experts is an essential part of our process. This ensures that the 3D-printable part is, first and foremost, technically feasible.
To assess the feasibility of a part, we use software to analyse it from various angles. As in the previous example, material thicknesses are one aspect of the assessment, but we also pay attention to factors such as the part’s functionality and cleanability.
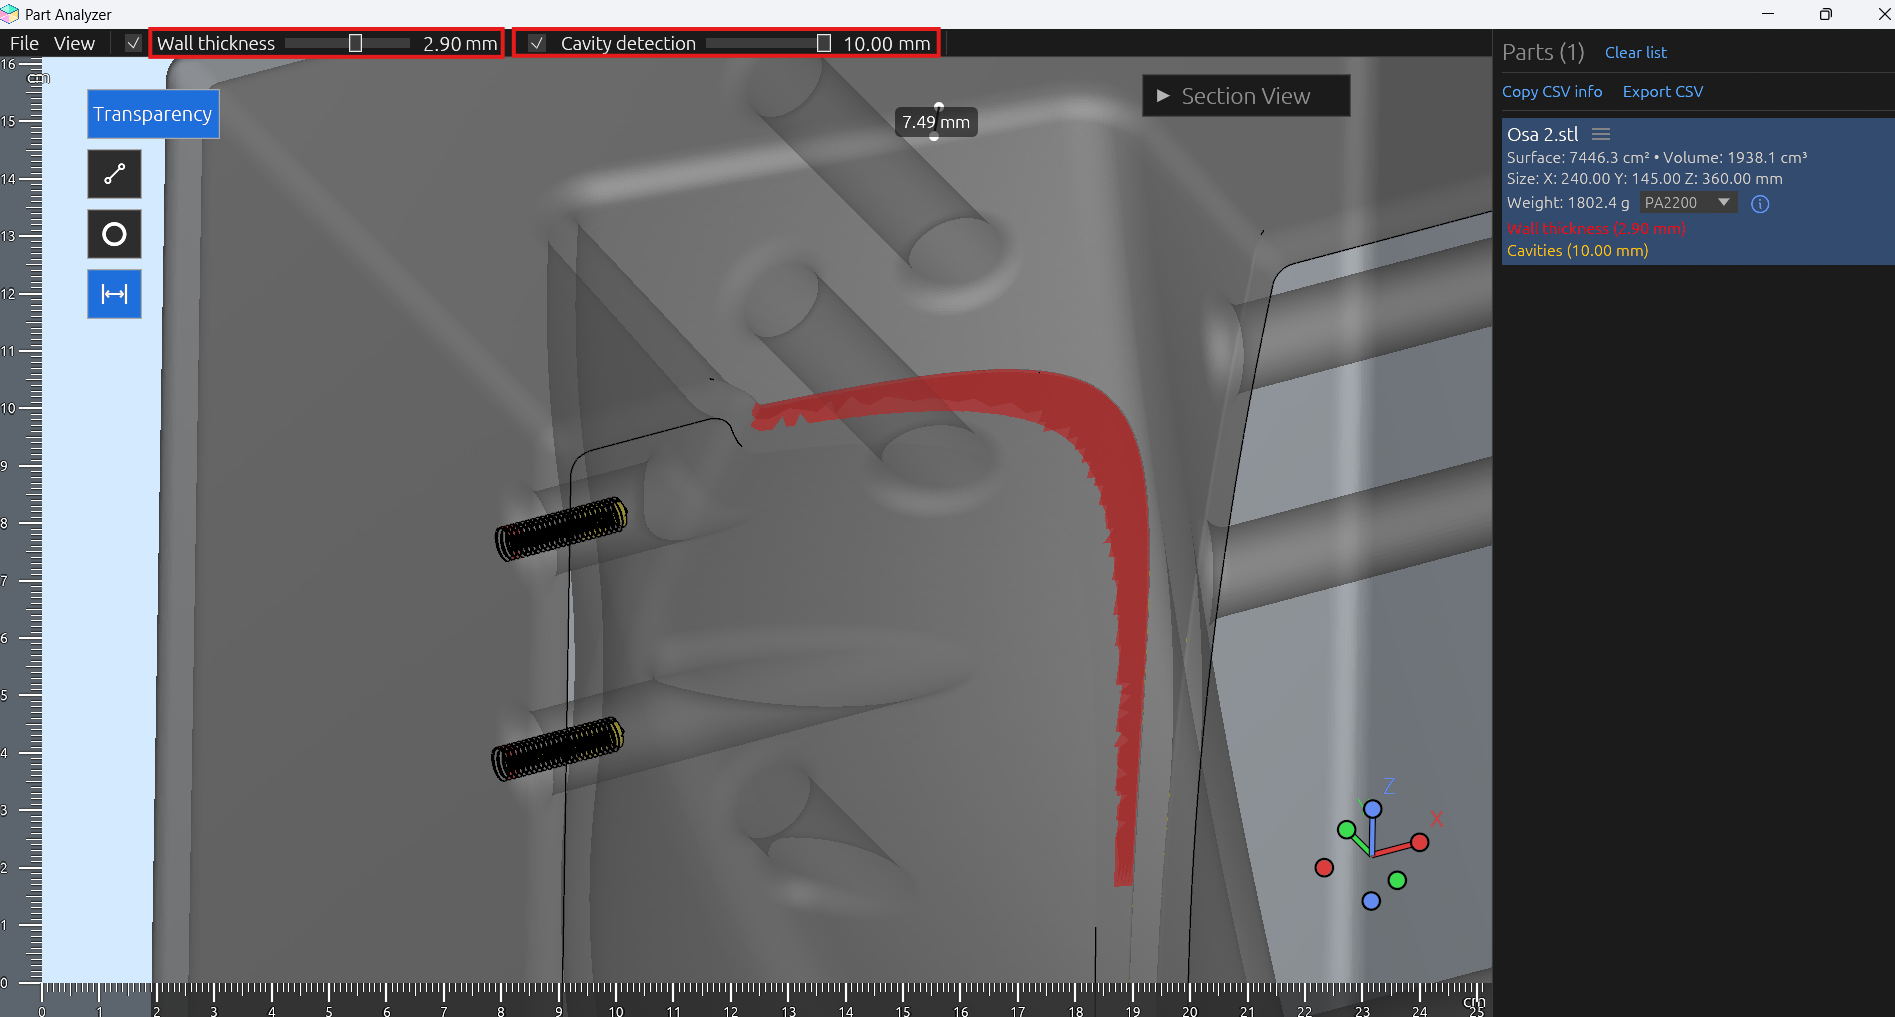
Assessing printing positions and techniques is important at this stage, as they have a significant impact on the price. For the pricing of individual parts, we use a basic calculation, but batch pricing for hundreds or thousands of parts is based on an assessment of the total costs of the entire production run, which determines the price per part.
If a customer orders a part with high mass density or mass concentrations, the sales process usually begins with a discussion on whether it would be possible to remove the mass entirely or reduce it using various solutions, whilst maintaining walls of equal strength throughout the part. Could the part be printed as a shell, reinforced with internal structures, and then the powder remaining inside blown out after printing? Making the part lighter has a direct impact on the costs of 3D printing.
In addition to technical considerations, we also take a stance on commercial considerations: if it doesn’t make sense to produce a particular part using 3D printing, we’ll say it honestly. We know that our customers value straightforward feedback, as it saves them both time and money.
“I’m so glad you didn’t rip me off.’”
A customer’s comment on our honest assessment
In production, we focus on optimisation and quality control
Once the plans have been finalised and the order confirmed, the part moves into production. In production, our experts determine the precise printing parameters and positions for each part, ensuring both visual quality and mechanical durability. We never print parts using random specifications or positions; instead, we select the best settings based on the customer’s requirements.
Example part:
Our clientLIND Art & Technology’s battery-powered surfboard charger casing.
-
Optimisation of print orientation: To achieve a polished and neat finish, it was important to ensure that the layer borders created when printing at a shallow angle did not remain visible on the surface of the parts. Therefore, the print orientations had to be carefully planned. The orientations were chosen so that the layer boundaries either fell on hidden surfaces or were positioned symmetrically on the finished product.
-
Critical toleranced dimensions: The print orientations also took into account the fact that critical dimensions can be more easily controlled through rescaling. In the case of the LIND Art & Technology charger casing, this meant that the part was positioned so that the hole requiring dimensional accuracy was situated in the optimal position to achieve the required precision.
-
Quality repeatability: Parts were defined to be produced using a specific machine model and set of parameters to ensure consistent quality. Through experience, we have found the most suitable machine for manufacturing each type of part, and we optimise production accordingly. For critical parts, a completely dedicated layer can also be reserved to reliably rule out any impact on quality from other parts produced in the same print run.
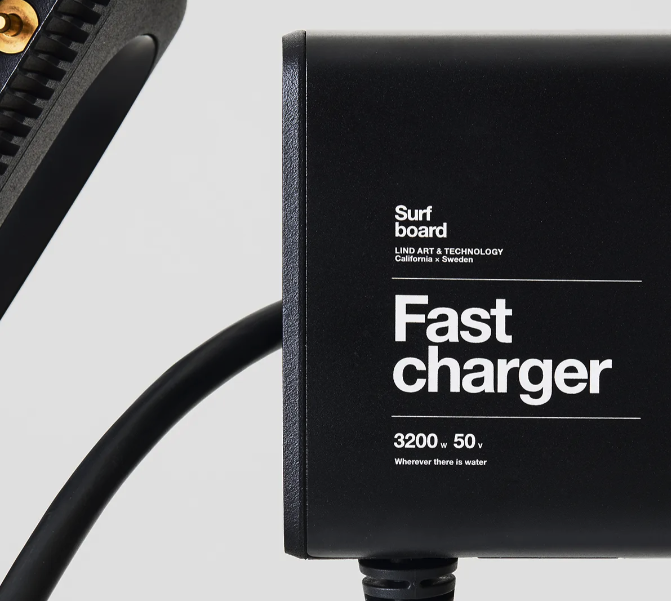
Depending on the 3D-printed part and its intended use, we also pay attention to other aspects relating to quality control, functionality and efficiency during production.
When parts require exceptional mechanical strength, we aim to position them in the print chamber so that the structures subjected to mechanical stress are in the XY direction (horizontal) rather than in the Z direction (vertical). In some cases, tilting the part can be used to ensure that as much of the surface area as possible is melted simultaneously, thereby maximising strength. On the other hand, it should be noted that the strength of different materials varies differently – for example, the strength of polyamide hardly varies at all when the orientation changes.
The printing orientation is also important when the part features details such as threads or markings. Printing in a specific orientation and onto a specific surface results in better quality. We always take into account threads, raised and engraved patterns, text, serial numbers and logos, in both plastic and metal printing.
Mass production has a few special features of its own: if large quantities of parts that differ only slightly from one another are produced in a single run, a mesh-like cube or other structure is printed around the parts to keep them separate from the others. The parts can also be serialised via engraving or all-over patterning.
Post-processing transforms the part into a durable end product
After 3D printing, the part undergoes a precisely standardised post-processing stage.
Example part:
A 3D-printed part produced for one of our clients’ branding purposes, designed to withstand industrial conditions. The part was printed using PA2200 material.
- Standardised post-processing: As always, after printing, the parts in the batch were cooled, demoulded, cleaned and shot-blasted to ensure a uniform surface finish for painting.
- Painting and coating: The part was painted in accordance with the RAL colour code specified by the customer. The painting process utilises equipment that ensures repeatability, meaning that exactly the same colour shades can be achieved for the next order. After colouring, the part was protected with a micro-coating that repels water, oil and dirt.
- Inspection and delivery: The part was visually inspected, and once the inspection had been approved, it was carefully packaged and dispatched to the customer.
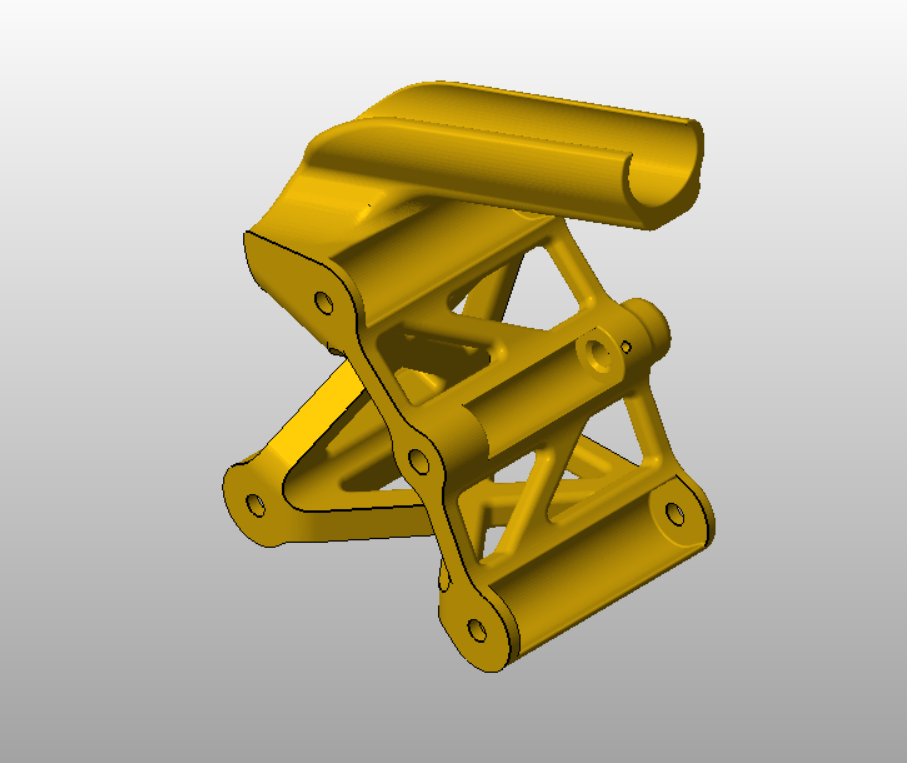
Our quality control complies with ISO 9001 standards, which means that every part manufactured undergoes a visual inspection and, where necessary, a dimensional accuracy check using a calliper or by scanning. If any defects are found in the parts, they are remanufactured.
We always use regularly calibrated measuring equipment, and the process is underpinned by over two years’ worth of actual data on dimensional accuracy. If required, a separate measurement report is prepared for the customer.
We also stay in touch after delivery to ensure that the part functions as intended in its application. The specifications are retained for future repeat orders.
Expertise connects the entire chain
The journey of a 3D-printed part from the 3D model to the end-user’s everyday life is a tightly integrated process comprising an understanding of the customer’s needs, expert production planning, carefully selected production parameters, reliable equipment, and high-quality, traceable materials.
Only when all these factors come together, can a functional, cost-effective and high-quality part be produced.
When planning your 3D printing project, don’t hesitate to contact us early on! We’ll explain how to best produce the part and how you can achieve your desired benefits as efficiently as possible.